
Image Guidelines
Sharp, evenly lit evidence increases review confidence. Capture the full silhouette first, then move closer for hardware, coding, interiors, and wear detail.
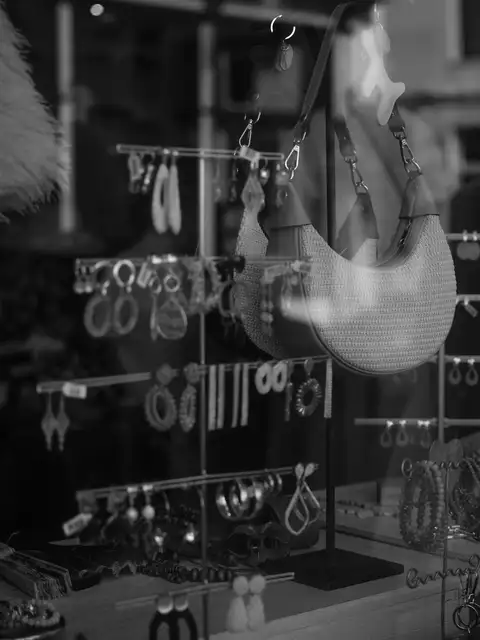
Handbags
Leather goods, totes, shoulder bags, mini bags
Capture silhouette, handle shape, hardware wear, stitching consistency, serial labels, and interior construction.
Place the bag upright in soft daylight and capture silhouette, hardware, interior, and base wear in separate frames.
- Front full silhouette
- Back panel and seams
- Bottom corners and feet
- Hardware close-up
- Date code or serial area
- Interior lining and logo stamp
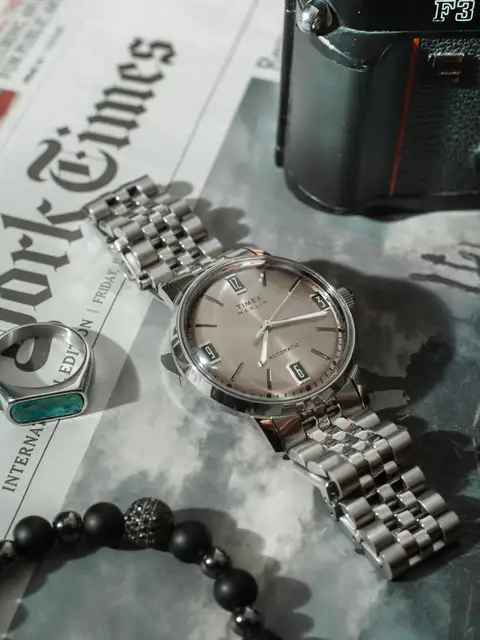
Watches
Luxury watches, chronographs, bracelets, straps
Focus on dial printing, caseback engravings, movement indicators, clasp construction, and serial registration points.
Keep the dial square to camera, then add serial, caseback, clasp, and side-profile detail shots in even light.
- Straight-on dial shot
- Side profile of case
- Caseback engraving
- Bracelet clasp or buckle
- Serial or reference number
- Movement or exhibition back if present
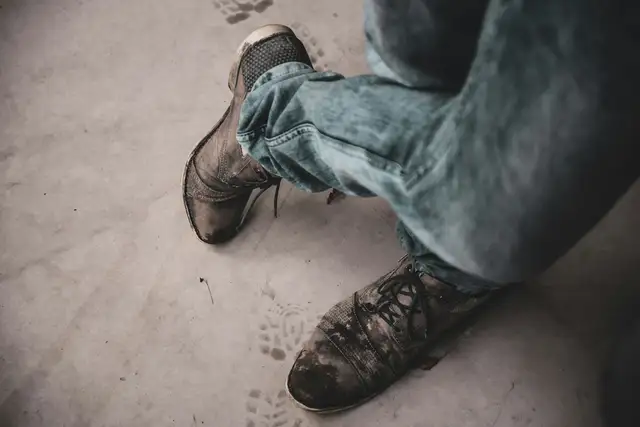
Footwear
Heels, loafers, sneakers, boots
Document shape, outsole pattern, logo execution, insole stamp, stitching, and interior size or factory codes.
Capture the pair standing naturally, then add outsole, insole, and stitch-detail frames before checkout.
- Pair front profile
- Pair side profile
- Outsoles
- Insole branding
- Interior size or style code
- Close-up of stitching and materials
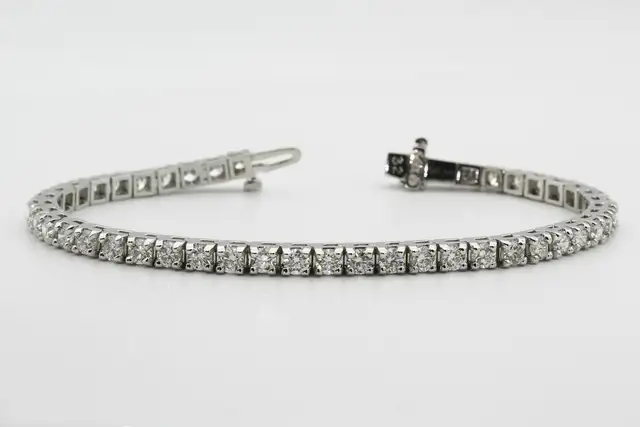
Jewelry
Fine jewelry, costume jewelry, charms, cuffs
Show hallmark clarity, clasp finishing, stone seating, engraving depth, and construction joins.
Use a neutral surface and hold for crisp hallmark and clasp detail so the team can assess finish and construction joins.
- Full piece overview
- Clasp and closure
- Hallmark or metal stamp
- Backside construction
- Stone close-up
- Packaging or certificate if available